


👋 Hi, Joschi and Monika here!
If you’ve ever wanted to learn how to do a Forearm Stand but felt intimidated, you’re in the right place; this tutorial breaks it all down for beginners in just five minutes – and yes, you can do it! 💪

What is Pincha Mayurasana?
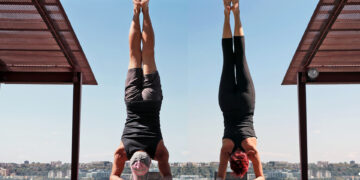
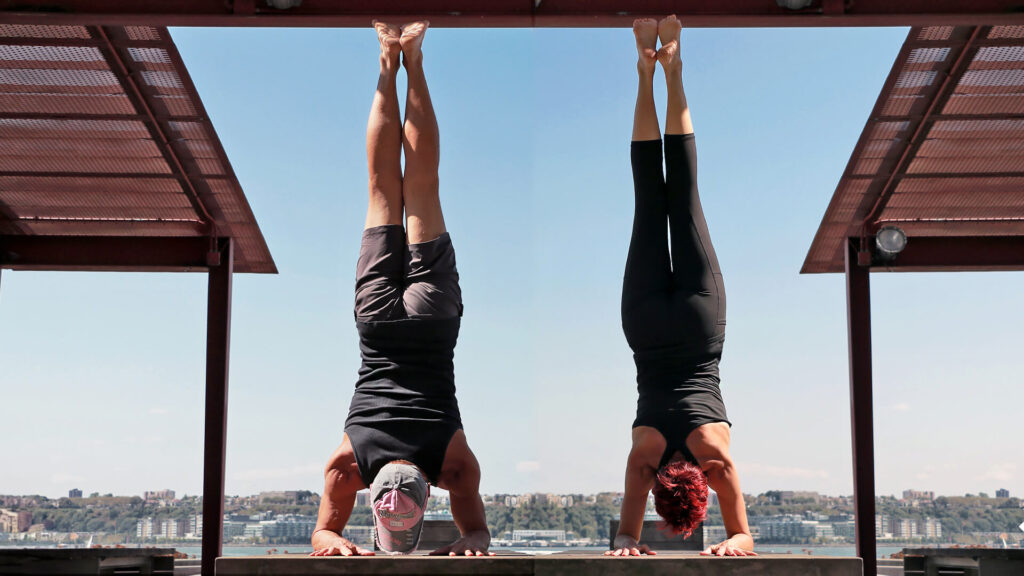
Let’s start with the basics of Pincha Mayurasana, also known as Forearm Stand – a powerful inversion that builds strength, balance, and body awareness.
Forearm Stand for Beginners
✅ Let’s Set Up Your Forearm Stand
First, roll out your mat and find a clear wall space.
Start on all fours and lower down onto your forearms. Check that your arms are shoulder-width apart and parallel – not forming a triangle.
👉 Pro Tip: Grab opposite elbows first to find the right distance. Then place your forearms down and spread your fingers wide.
Now align your wrists, elbows, and shoulders in one line. This is your foundation – getting it right will make everything else easier.
🔥 Activate Your Shoulders and Core
Pull your shoulder blades down away from your ears – this activates your lower traps, supports your upper back, and keeps your neck happy.
Next, pull your belly button in, tuck your toes, and lift your hips into Dolphin Pose (an upside-down V shape).
Now start walking your feet closer to your elbows.
🚫 Don’t Fight Your Hamstrings
Tight hamstrings? You’re not alone – sitting all day, running, or lifting can cause that.
If your legs don’t straighten, bend your knees slightly. The goal is to stack your hips over your shoulders.
The closer your feet are to your elbows, the less momentum you’ll need to get up.
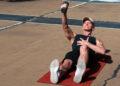
🐾 Start With Small Hops
Lift one leg up, bend the other, and start with a few gentle hops.
Don’t try to go all the way up yet – just get used to the feeling. Everyone’s a little nervous about falling at first – that’s totally normal!
When you’re ready, make your way up and use the wall for support.
Try different variations:
- One leg straight
- Both knees bent
- Feet against the wall
You’ll start to feel more confident upside down.
🌬 Breathe Through It
One thing we haven’t mentioned yet – and it’s a game changer – is your breath.
When you’re upside down, it’s easy to hold your breath without realizing it. But steady breathing helps you stay calm, focused, and in control.
Take slow, deep breaths in and out through your nose as you practice.
If you feel tension, pause, breathe, and reset.
🌟 It’s About Progress, Not Perfection
Remember – it’s not about nailing the pose today.
It’s about exploring something new, challenging yourself, and having fun with the process.
Every little hop, every shift in balance is part of your progress.
Forearm Stand takes time and practice, so be patient with yourself.
Use this video as your go-to tutorial when you want to explore inversions in a safe, fun, and effective way.
Once you feel steady at the wall, try taking little hops further away from it.
🛠 Bonus Tips While You Practice
✔️ Press all 10 fingers into the mat to help with balance
✔️ Keep your abs engaged and belly pulled in
✔️ Tuck your tailbone slightly under
✔️ Squeeze your inner thighs together
✔️ Point your feet and flex your toes
🎬 Ready to go upside down?
👉 Press ‘PLAY’ and let’s do it together!
Keep practicing this Forearm Stand for Beginners sequence and come back anytime you want a quick refresher or confidence boost on your inversion journey.
💡 Want to Dive Deeper into Forearm Stand?
Once you feel confident with the basics, head over to our Deep Dive into Forearm Stand for more technique, alignment tips, and exciting variations.
Downward Facing Dog